PoE2 Temple Rewards Guide: Which Rooms Are Actually Worth Chasing?
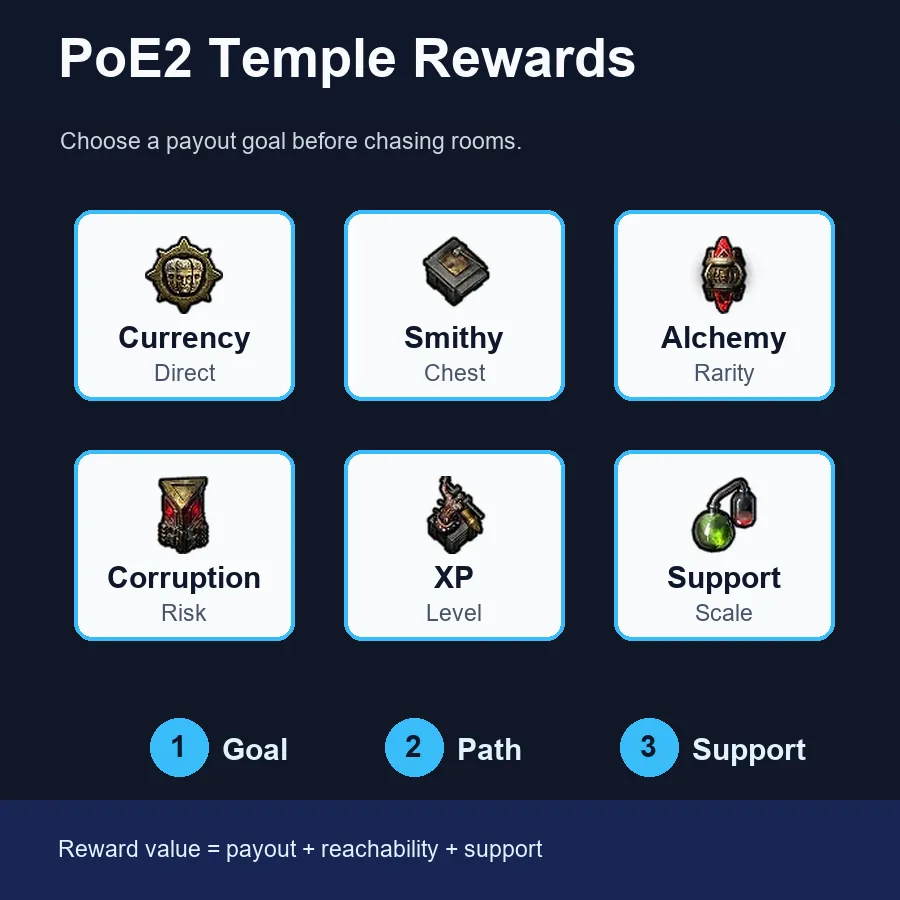
The strongest Temple reward plan is not taking every shiny room. Pick one payout goal, keep the reward rooms reachable, and use support rooms only when they improve that goal.
Written by
Elena Marlowe
ARPG editor and systems writer at PoE2 Temple Planner
Elena writes practical Temple planning articles focused on room-chain clarity, reward priority, and patch-aware routing.
Editorial standard
GSC shows broad Atziri Temple and planner intent already ranking on protected homepage and guide URLs, while Similarweb surfaces low-difficulty Temple queries with reward and room-choice overlap. This page targets reward-priority decisions instead of duplicating the planner, full guide, layouts, medallions, or loot-filter pages.
On this page
Opportunity and search intent
GSC shows broad Atziri Temple and planner intent already ranking on protected homepage and guide URLs, while Similarweb surfaces low-difficulty Temple queries with reward and room-choice overlap. This page targets reward-priority decisions instead of duplicating the planner, full guide, layouts, medallions, or loot-filter pages.
Quick priority: choose rewards by run goal, not by room rarity
If you are planning a PoE2 Temple for rewards, start with the payout you actually want. Currency and broad trade value usually prefer Smithy, Alchemy Lab, Reward Room, Spymaster, Thaumaturge, and reachable chest paths. XP runs care more about Synthflesh Lab, Garrison, Workshop, and enough monster density. Corruption or boss-focused plans need a narrower chain and cleaner protection because one disconnected specialist room rarely pays for the whole Temple.
| Run goal | Best reward rooms | Avoid this trap |
|---|---|---|
| Currency and trade value | Smithy, Alchemy Lab, Reward Room, Spymaster, Thaumaturge | Chasing a specialist room that cannot be reached or upgraded |
| XP and leveling | Synthflesh Lab, Garrison, Workshop, Generator | Ignoring monster flow while saving only chest rooms |
| Corruption value | Corruption Chamber, Sacrificial Chamber, Thaumaturge | Mixing corruption rooms into a layout with no support chain |
| Boss or Architect push | Flesh Surgeon, Commander, route access, protected reward rooms | Spending every slot on side loot and missing the boss route |
| Recovery Temple | Reward Room, Sealed Vault, reachable T2 rooms | Forcing a perfect T3 plan after the layout is already compromised |
What counts as a Temple reward room?
In practice, Temple rewards come from two places: explicit reward rooms and room modifiers that make the whole run more valuable. A Reward Room is the cleanest example because it gives special chests or direct payout. Smithy improves chest rarity, Alchemy Lab improves item rarity from monsters, Corruption Chamber changes rare-monster modifier value, and Synthflesh Lab turns the run into an experience route instead of a loot route.
The 0.5.0 update matters because official patch notes say Reward Rooms granted after the Architect were improved and more varieties can unlock. That makes the question of direct payout versus support room a real planning decision. Direct payout rooms deserve reachability. Support rooms deserve space only when they multiply rooms you already plan to run.
Fast rule
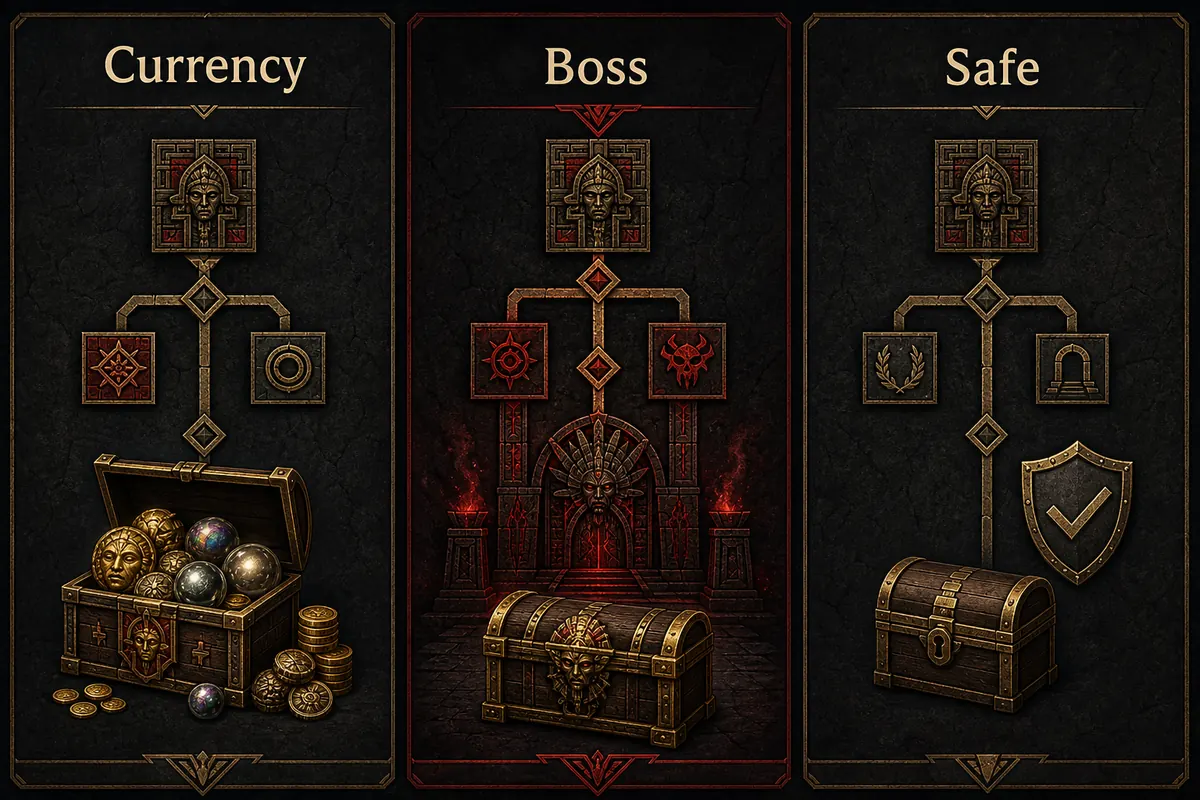
A connected Tier 2 reward room that fits the goal usually beats an isolated Tier 3 room that looks powerful but cannot support the final route.
Reward priorities by Temple goal
Do not compare every room on one flat tier list. A room that is excellent for an XP Temple may be mediocre in a currency Temple, and a corruption chain can be strong only when the surrounding rooms justify the risk. Use the goal first, then read the room.
| Run goal | Best reward rooms | Avoid this trap |
|---|---|---|
| Currency and trade value | Smithy, Alchemy Lab, Reward Room, Spymaster, Thaumaturge | Chasing a specialist room that cannot be reached or upgraded |
| XP and leveling | Synthflesh Lab, Garrison, Workshop, Generator | Ignoring monster flow while saving only chest rooms |
| Corruption value | Corruption Chamber, Sacrificial Chamber, Thaumaturge | Mixing corruption rooms into a layout with no support chain |
| Boss or Architect push | Flesh Surgeon, Commander, route access, protected reward rooms | Spending every slot on side loot and missing the boss route |
| Recovery Temple | Reward Room, Sealed Vault, reachable T2 rooms | Forcing a perfect T3 plan after the layout is already compromised |
When support rooms are worth more than reward rooms
Support rooms are easy to undervalue because they do not always show an obvious chest. Spymaster, Workshop, Thaumaturge, Generator, Garrison, and Commander can be stronger than a random reward pick when they increase the rooms that already define your plan. The mistake is adding support after the Temple has no coherent target.
Generator is the foundation for several upgrade routes, but it is not a reward by itself. Spymaster and Thaumaturge are high-value only when their supported room families are present. Workshop shines when the layout already includes Generator, Synthflesh, Flesh Surgeon, Transcendent Barracks, or Alchemy Lab. If those families are missing, a direct reward room is usually simpler.
- Check whether the support room affects at least two important rooms.
- Confirm the supported rooms are reachable from the entrance path.
- Prefer one strong support family over three unrelated support pieces.
- Do not protect support if the payout room itself is exposed.
Common reward-planning mistakes
Most disappointing Temples fail before the final run starts. The room looked valuable, but the layout had no path, no upgrade family, or no reason to combine those rewards. These mistakes are especially common when a player reacts to each offered room separately instead of planning the run around one payout.
| Mistake | Why it hurts | Fix |
|---|---|---|
| Taking every Reward Room | Side rooms consume path and protection budget | Connect the best payout and ignore weak side branches |
| Building currency and XP at once | Support rooms pull in different directions | Choose one main goal and one backup reward |
| Ignoring destabilisation risk | Valuable rooms can disappear after the run or boss step | Keep the important chain compact and reachable |
| Overvaluing Tier 3 alone | Tier does not matter if the room is disconnected | Treat reachability as part of reward value |
A practical reward workflow before entering
Use this short workflow when the console offers tempting rooms and you need a fast decision. It keeps the reward plan readable and prevents the common good rooms, bad Temple result.
- Name the payout: currency, XP, corruption, boss, or recovery.
- Pick one direct reward room or one support family as the anchor.
- Use the planner to verify pathing and Generator coverage before committing.
- Upgrade only the rooms that improve the anchor goal.
- Before entering, check whether any high-value room is unreachable or exposed.
Open the Temple planner
Test whether the reward chain is reachable before spending rooms.
Read the room connection cheat sheet
Check which support family the reward room belongs to.
Compare best Temple layouts
Use preset goals when you do not want to build from scratch.
Review medallion slots
Decide which saved medallions support the next reward plan.
Vault, reward room, or support room: which should you choose?
The Similarweb reward seed returned broad related demand such as PoE2 Atziri, PoE2 Temple planner, and PoE2 Temple builder. Those are not reward-page primary targets, but they show why reward advice must connect to route proof: players want to know which valuable-looking room is worth keeping in a real layout.
| Candidate | Intent fit | Best action |
|---|---|---|
| poe2 temple rewards | Direct fit for this page | Use in metadata, reward-priority copy, and FAQ. |
| reward room / vault choice | Supporting reward decision | Add this section and use contextual anchors from connection and Atziri pages. |
| poe2 atziri | Adjacent boss-route intent | Mention as a support case; keep the main boss guide as the owner. |
| poe2 temple planner / builder | Tool intent | Use internal links to the planner, not this page as the primary target. |
| poe2 filter | Different navigational intent | No action; the filter guide owns that topic. |
Use the support room when it protects a larger reward chain, choose the vault-style room when it is reachable without breaking the route, and choose the boss route only when the surrounding rewards still make the Temple worth running if the boss attempt is messy.
Frequently asked questions
Sources and further reading
These sources support the patch and room-reward notes used in this guide.
- Path of Exile 2 Content Update 0.5.0 patch notes - Official source for Reward Room, medallion, room upgrade, and Temple rule changes.
- PoE2DB: Atziri's Temple - Reference for current Temple terminology and patch-note mirrored mechanics.
- Mobalytics Vaal Temple overview - Practical overview of Temple Console, room cards, medallions, grid planning, and room rewards.
- Read the room connection cheat sheet - Internal reference for support families, Generator coverage, and room connection checks.
About the author
Elena Marlowe
Elena Marlowe writes Temple strategy content for PoE2 Temple Planner with a focus on practical room priorities, patch-aware mechanics, and readable decision frameworks.
Plan the reward before you spend the room
Open the planner to test whether the reward chain is reachable, then compare the cheat sheet if the support family is unclear.